To collimate Meade LightBridge 12 from folding camping trailer, deploy the trailer's stabilizer jacks fully, set the Dobsonian base on the ground beside (not inside) the trailer to escape floor flex, then walk through a three-stage alignment: laser-align the secondary mirror, center the laser on the primary, and finish with a star test at high magnification. The trailer becomes your eyepiece cabinet and laser-collimator holster, not your telescope platform. Plan for fifteen minutes once dew falls, recheck after the truss tubes equalize to ambient temperature, and never collimate with the trailer rocking from interior movement. This 2026 field guide walks you through every step.
Why a Folding Camping Trailer Changes Standard Collimation
A folding camping trailer (pop-up, A-frame, or hybrid tent trailer) introduces three problems traditional driveway collimation guides ignore. First, the trailer floor flexes under foot traffic, so any collimation done with the scope sitting on a trailer deck will drift the moment someone climbs in to grab a Telrad battery. Second, the canvas walls trap warm interior air that bleeds out at irregular rates, creating thermal currents directly above your secondary cage if the scope is parked too close. Third, leveling jacks and tongue jacks behave differently than rigid concrete pads, transmitting micro-vibrations from wind and footsteps straight into your optical path.
When shopping for collimate Meade LightBridge 12 from folding camping trailer, it pays to compare specs, capacity, and real-world runtime before committing.


The Meade LightBridge 12 is a 12-inch truss-tube Dobsonian, which means every time you break it down to fit it into the trailer's cargo bay and reassemble it at a dark site, the optics shift. Truss tubes are travel-friendly by design, but that same modularity guarantees you will collimate every single night. That's not a flaw — it's the deal you accepted when you chose a 305mm aperture you could actually haul behind a Subaru.
Site Setup Before You Touch a Collimation Tool
Park the trailer with the long axis pointing away from your observing position, ideally so the entry door faces away from the scope. This keeps interior light leakage off your dark-adapted eyes and reduces the warm-air plume hitting the optical tube. Deploy all four stabilizer jacks until you feel resistance, then add another half-turn — you want the suspension unloaded, not just touched. If your trailer has a single tongue jack and rear stabilizers only, place leveling blocks under the rear corners to triangulate.
Set the LightBridge rocker box on a flat patch of ground at least eight feet from the trailer skin. This buffer zone matters: closer than eight feet and convection from the canvas will warp star images at 200x and above, particularly during the first hour after sunset. Use a tarp under the rocker box if the ground is damp — wet grass will wick moisture into the particleboard base over a long weekend and you'll feel the azimuth bearing get sticky by Sunday morning.
What to Stage Inside the Trailer
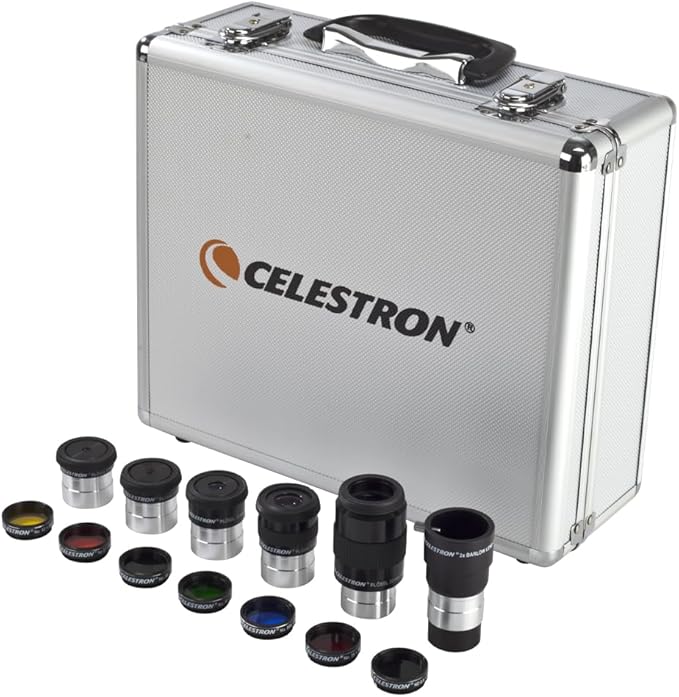
Treat the dinette or galley counter as your tool bench. A laser collimator, a Cheshire eyepiece, a small red-LED headlamp, a hex-key set (the LightBridge secondary uses a 2mm hex), a microfiber cloth, and a small mat to kneel on should all live in one labeled bin. The folding trailer's biggest advantage over tent camping is exactly this: you have an interior surface where small parts won't disappear into the grass at 2 a.m.
The Three-Stage Collimation Procedure
Once the truss is fully assembled and you've waited at least thirty minutes for the primary mirror to begin equalizing with ambient temperature, you can collimate Meade LightBridge 12 from folding camping trailer setups using this sequence.
Stage 1: Secondary Mirror Alignment
Drop a laser collimator (verified collimated itself — check it against a V-block before the trip) into the focuser with the focuser racked all the way in. Power it on and look down the front of the OTA. The red dot should land dead center on the primary mirror's center spot. If it doesn't, adjust the three small Phillips screws on the back of the secondary holder using only quarter-turns. Tighten one, loosen the opposite slightly, recheck. The secondary mirror's tilt is the most sensitive adjustment, so resist the urge to make big moves.
Stage 2: Primary Mirror Adjustment
Walk to the back of the LightBridge mirror cell. The three large collimation knobs adjust primary tilt; the three smaller lock screws hold position. Loosen all three locks a quarter turn. Now look at the laser collimator's target face — the returning beam should hit the bullseye. Adjust each large knob in small increments until the return beam centers. Re-tighten the locks gently. Over-tightening warps the primary and creates astigmatism; you'll see it as triangular star images at high power.
Stage 3: Star Test Confirmation
Slew to Polaris or any second-magnitude star near the zenith. Use a medium-power eyepiece (a 10mm gives roughly 152x in the LightBridge 12's 1524mm focal length). Defocus slightly inside focus and outside focus. The diffraction rings should be concentric on both sides. If the central shadow sits off-center, repeat Stage 2 with finer adjustments. This star test is the only one that matters — laser collimators get you 95% there, but the star confirms.
Vibration Control: The Trailer-Specific Trick
Here's the part most articles miss. After full collimation, do a vibration check. Have a partner walk normally into the trailer, close the door, and sit down. Look through the eyepiece at a bright star at 200x+. If the star image displaces visibly when the door closes, your trailer is too close or your jacks aren't fully loaded. Move the scope another three feet away and re-test. This single discipline preserves collimation through an entire night of trips back and forth for hot cocoa and warmer gloves.
For more on cold-weather observing logistics, our companion piece on cold-weather Dobsonian storage covers how to keep the primary from frosting between sessions. If you're still deciding on a portable rig, see our best travel telescopes for 2026 guide.
When the LightBridge Is the Wrong Tool for the Trip
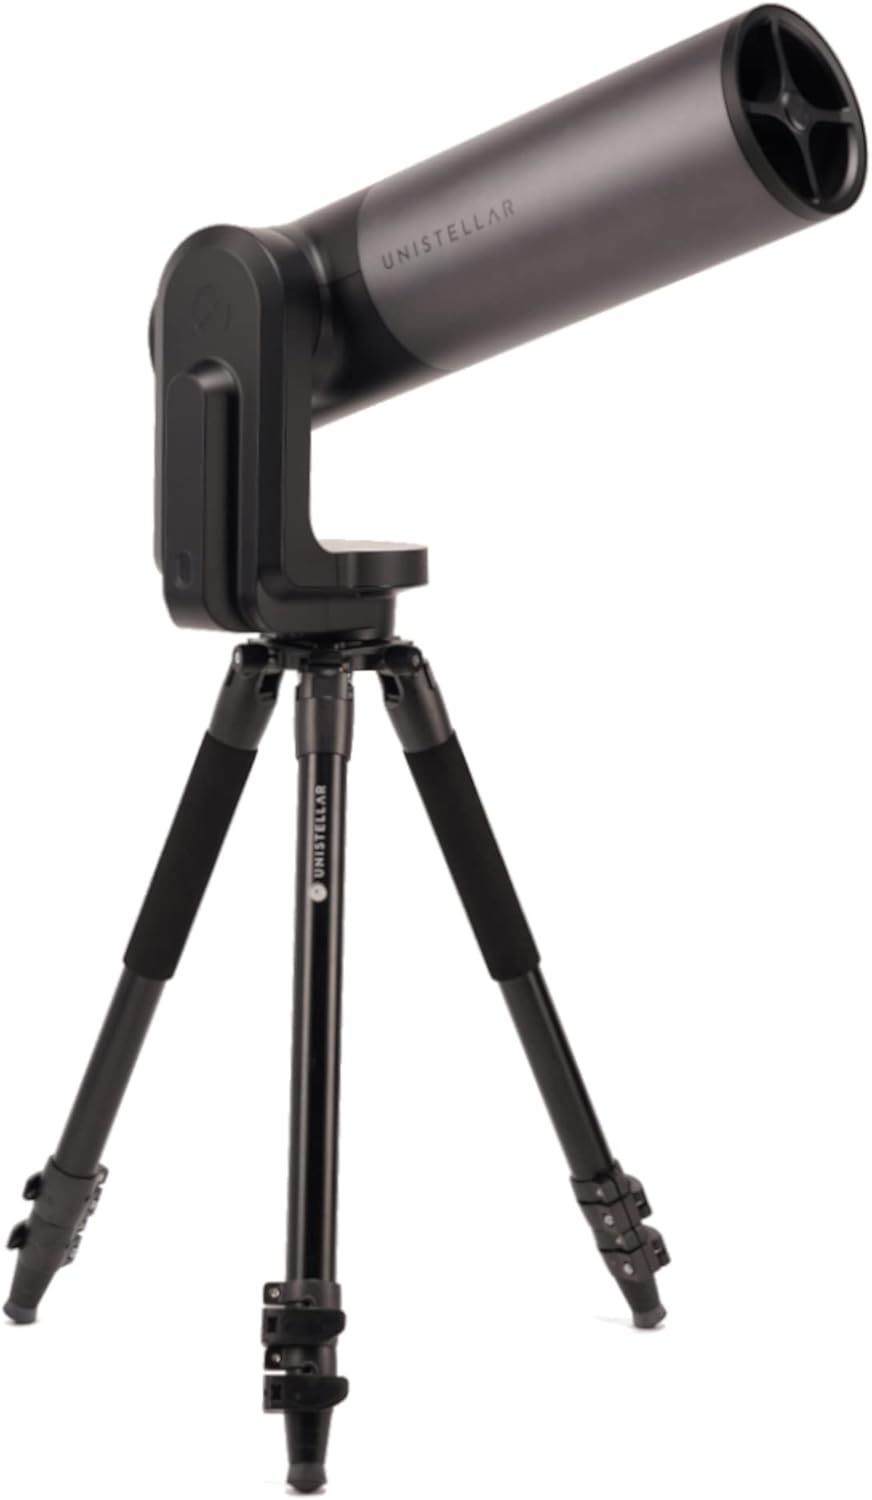
A truss-tube 12-inch Dobsonian is fantastic for a weekend at a dark-sky park where you'll set up once and stay put. For a moving folding-trailer expedition where you tear down and re-set every night, the constant collimation cycle gets old. A sealed Schmidt-Cassegrain (SCT) holds collimation across multiple setups because the optics are enclosed in a sealed tube, and a computerized GoTo mount removes the manual star-hopping that gets exhausting after a 400-mile tow day.
Below are two SCT alternatives worth considering as a second scope for trailer travel — not as replacements for the LightBridge's light grasp, but as low-maintenance companions for nights when you'd rather observe than align.
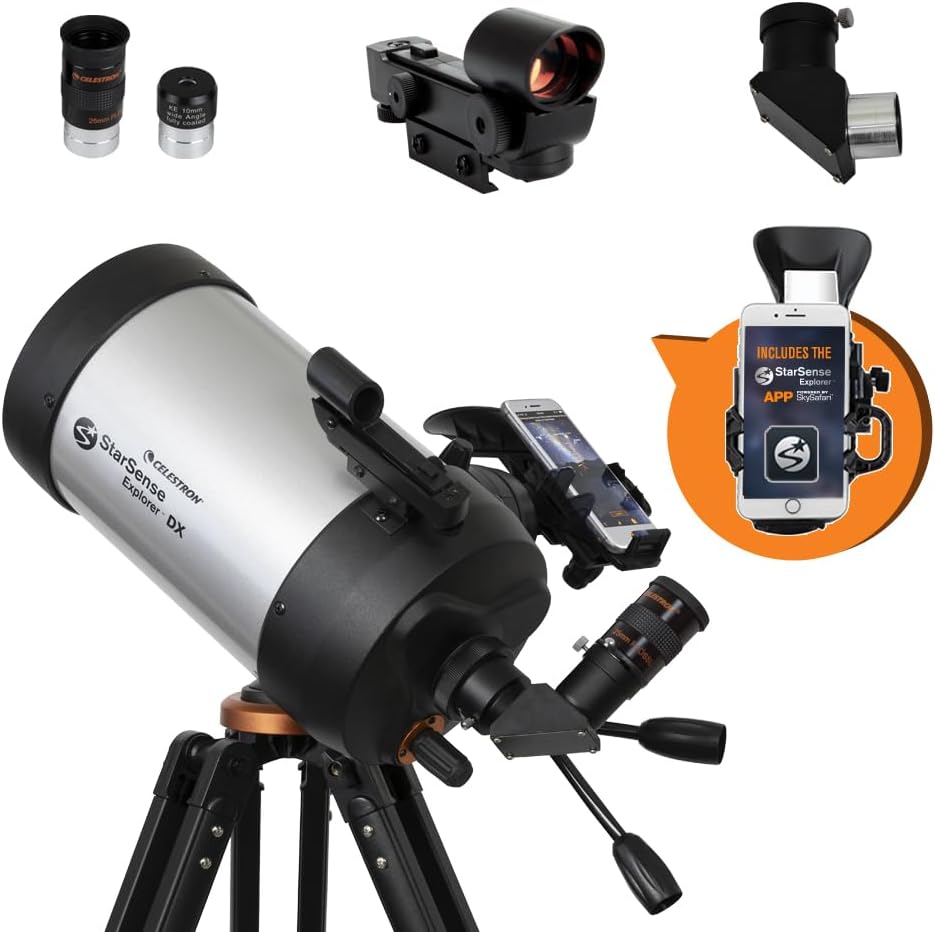
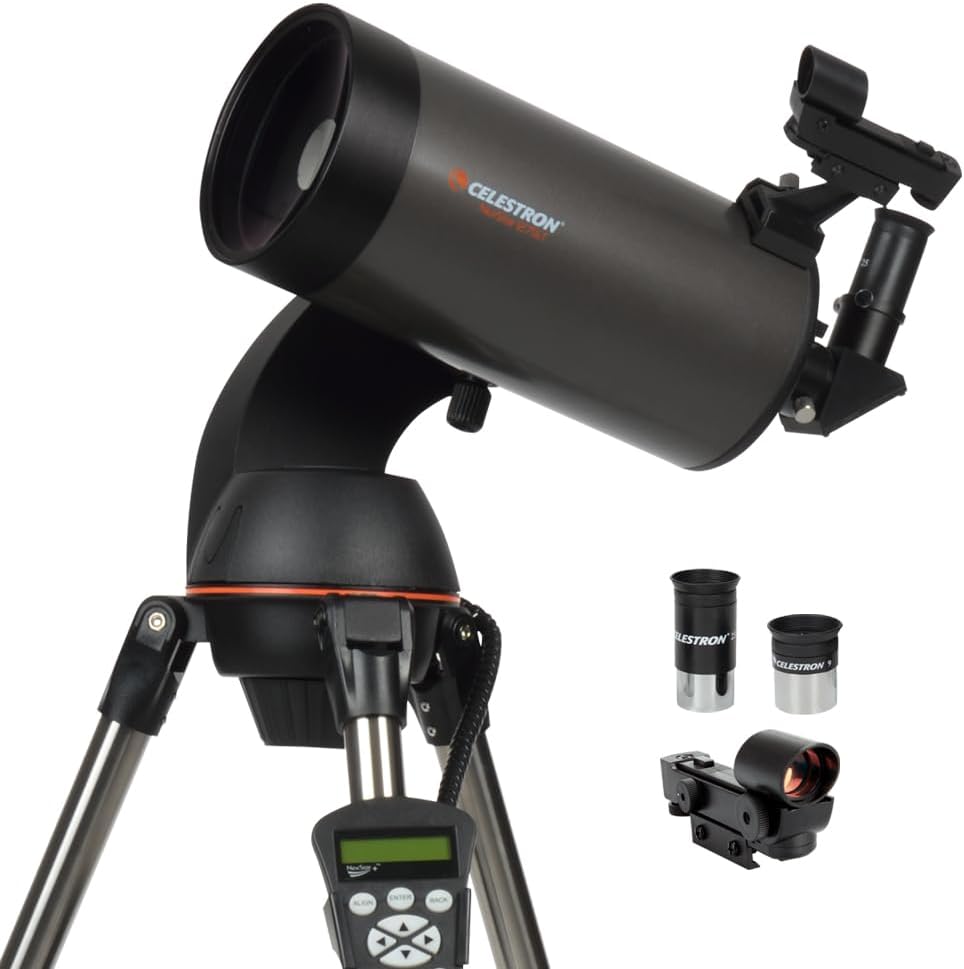
Celestron NexStar 8SE: The Trailer-Friendly Workhorse
The NexStar 8SE pairs an 8-inch Schmidt-Cassegrain with Celestron's SkyAlign auto-alignment and a 40,000-object database. The single-arm fork mount packs into a tote-sized hard case that fits under a folding-trailer dinette bench. Collimation on an SCT requires only three small screws on the secondary, and it holds for months between tweaks. For a trailer setup where you want to observe within ten minutes of arrival, this is the answer. Check the Celestron NexStar 8SE on Amazon.
Celestron NexStar 6SE: Lighter Hauling, Still Capable
If your folding trailer's tongue weight is already maxed out by water tanks and a portable solar generator, drop to the NexStar 6SE. The 6-inch aperture gives up some deep-sky reach versus the 8SE, but it weighs notably less, sets up faster, and uses the same SkyAlign software. For planetary observing and brighter Messier objects from semi-dark sites, the 6SE punches above its weight. See the Celestron NexStar 6SE on Amazon.
| Feature | NexStar 8SE | NexStar 6SE |
|---|---|---|
| Aperture | 203mm (8 in) | 152mm (6 in) |
| Focal length | 2032mm | 1500mm |
| Optical design | Schmidt-Cassegrain | Schmidt-Cassegrain |
| Mount | Computerized GoTo | Computerized GoTo |
| Collimation frequency | Monthly at most | Monthly at most |
| Best for trailer use | Deep-sky + planetary | Planetary, lunar, brighter DSOs |
| Storage footprint | Fits under dinette | Fits in overhead cabinet |
For more on aperture trade-offs, see our breakdown of Dobsonian vs SCT for trailer observing.
Final Field-Tested Tips
Carry a spare laser collimator. They get dropped, they get out-of-calibration after a few hundred miles of washboard road, and the difference between a working laser and a guessed-at primary tilt is the difference between sharp Jupiter detail and a smeared blob. Pre-mark your truss-tube positions with a paint pen so reassembly puts the trusses in the same rotational orientation every night — this alone cuts collimation time in half. Finally, log your collimation outcomes in a small notebook kept in the trailer: which knob got the most adjustment, what the ambient temperature was, and how long after sunset the optics finally cooled. After three trips you'll know your scope's habits cold.
Frequently Asked Questions
How long does it take to collimate a Meade LightBridge 12 in the field?
A practiced observer can complete laser collimation in eight to twelve minutes and confirm with a star test in another five. First-timers should budget thirty minutes and accept that the first night of a trip always takes longest. Subsequent nights are faster because the optics shift less once the trusses have been seated.
Can I collimate the LightBridge 12 while standing inside the folding trailer?
No. The trailer floor flexes too much to maintain alignment, and your body heat creates convection currents directly above the secondary. Always position the scope on solid ground at least eight feet from the trailer skin. The trailer is for staging tools and warming up between observation runs, not for hosting the optical tube.
Does a laser collimator alone get the Meade LightBridge 12 sharp enough for planetary viewing?
A high-quality, recently-verified laser collimator gets you about 95 percent of the way there. For sharp planetary detail at 200x and above, finish with an in-focus and out-of-focus star test on a second-magnitude star. The star test is the only true verification of collimation accuracy.
How often should I recheck collimation during a weekend trip?
Re-check at the start of every observing session and after any move of the rocker box. Truss-tube Dobsonians don't drift much within a single night once they reach thermal equilibrium, but the act of tearing down and re-erecting the trusses each evening guarantees you start from a fresh alignment.
What's the best laser collimator for travel use in 2026?
Look for a laser collimator with a barlow-equipped option or a holographic target — these reduce the impact of any miscollimation in the laser itself. Spend the extra fifteen dollars on a model with a machined aluminum housing rather than plastic; it survives folding-trailer cargo bays much longer.
Should I disassemble the LightBridge for transport in the folding trailer?
Yes. Remove the trusses, pack the secondary cage in a padded duffel, and lay the rocker box flat on the trailer floor with a moving blanket between it and any hard surface. The mirror cell stays in the rocker box. Never transport with the trusses installed — the vibration over miles of highway will mis-collimate every time.
Can I use the Meade LightBridge 12 with electronic GoTo like the Celestron SCTs?
The stock LightBridge 12 is manual push-to. Third-party DSC kits add digital setting circles, but full GoTo conversion is expensive and complicated. If GoTo matters more than aperture for your trailer trips, a computerized SCT like the NexStar 8SE is the cleaner answer than retrofitting a Dobsonian.
Key Takeaways
- Choosing the right collimate Meade LightBridge 12 from folding camping trailer means matching capacity and output ports to your actual devices
- Always check actual watt-hours (Wh), not just watts — runtime depends on Wh, not peak output
- Also covers: LightBridge 12 campsite collimation
- Also covers: truss Dobsonian collimation in field
- Also covers: pop-up camper telescope alignment
- Compare price-per-Wh across models to find the best value for your budget