To polar align iOptron CEM40 from rented storage unit rooftop, you need to (1) confirm rooftop access rights with your facility manager, (2) level the tripod on the often-sloped membrane roof using thick rubber pads, (3) perform the CEM40's built-in iPolar electronic polar alignment routine through the embedded camera, (4) refine with a star drift check, and (5) lock the altitude and azimuth bolts before loading your OTA. The whole process takes 12-18 minutes once you've done it a few times, even on a rocking commercial rooftop with light pollution and HVAC vibration. The CEM40's iPolar system is what makes this possible without a clear view of Polaris.
Why a Storage Unit Rooftop Is Actually a Smart Astro Site in 2026
Apartment-dwelling astrophotographers have spent the last decade hunting for any flat, dark-enough surface within driving distance. Storage unit rooftops have quietly become one of the better options. Most single-story self-storage facilities sit at the edge of suburban commercial zones, the rooftops are flat TPO or EPDM membrane, the buildings are unoccupied at night, and a month-to-month rental gives you legitimate access. Several facilities now market this directly to amateur astronomers, charging $15-30/month above the standard unit rate for rooftop privileges.
When shopping for polar align iOptron CEM40 from rented storage unit rooftop, it pays to compare specs, capacity, and real-world runtime before committing.


The iOptron CEM40 is the right mount for this use case. Its center-balanced design keeps the payload over the tripod's footprint (critical on a roof where you cannot stake down a pier), its iPolar camera doesn't require a Polaris sightline (storage facilities are often surrounded by taller commercial buildings to the north), and the 40 lb payload capacity comfortably handles an 8" SCT plus imaging train.
Before You Drive Out: The Pre-Trip Checklist
Rooftop access is hard-won. Forgetting one cable means a wasted clear night. Build this list once, laminate it, and check it at the car door.
- CEM40 head, counterweight (one 11 lb is fine for an 8" SCT), counterweight shaft
- iOptron 1.5" stainless tripod (the included LiteRoc is acceptable but the 1.5" is steadier on uneven rooftops)
- Three 4x4 inch rubber furniture pads (essential for membrane roofs)
- A 12V 20Ah LiFePO4 power tank — storage units rarely have GFCI outlets on the roof
- Laptop or tablet with iPolar software pre-installed and tested
- USB-C to USB-B cable for the iPolar camera
- Bubble level (the built-in mount level is too small to trust on a sloped roof)
- Headlamp with red mode, plus a backup
- Padlock for your unit and a copy of your rental agreement (security guards do patrol)
Getting the CEM40 Onto the Roof Safely
Most facilities provide roof access via an interior ladder or a roof hatch from a designated unit. The CEM40 head weighs 15.8 lbs and the tripod weighs about 17 lbs, so two trips up a ladder is realistic for one person. Use a backpack-style carry bag for the head — cradling it in your arms on a ladder is how mounts get dropped. Counterweights go in a separate trip; never climb a ladder with loose iron in your hands.
Once on the roof, scout for a spot at least 6 feet from any roof edge, away from HVAC condensers (vibration), and away from rooftop vents (warm air plumes destroy seeing). The northwest or northeast corners are usually best because facility lighting is concentrated near the office entrance on the south side.
Leveling on a Membrane Roof
Commercial flat roofs are intentionally sloped 1/4" per foot toward drains. Your tripod will not sit level naturally. This is where the rubber pads earn their keep: place one under each leg, then extend the downslope legs to compensate. Use your bubble level on the mount's top plate (not the small built-in vial) and aim for a bubble fully inside the inner circle. Out-of-level translates directly to polar alignment error — a 1-degree tilt becomes about 5 arcminutes of azimuth drift over a typical imaging session.
Do not puncture the roof membrane. No spikes, no leveling screws driven into the surface, no scraping the legs across the roof. A torn membrane is a $4,000 repair bill the facility will absolutely charge back to you.
The Polar Alignment Procedure, Step by Step
1. Rough Mechanical Aim
Use a phone compass app to find true north (not magnetic — add or subtract your local declination). Rotate the mount so the iPolar camera lens points within about 10 degrees of north. Set the altitude bolt to your latitude. This rough aim is what gets the camera close enough to plate-solve.
2. Launch iPolar
Connect the iPolar camera to your laptop via USB. Open the iPolar application (version 3.5 or later as of 2026 supports the updated star catalog). Click "Start Solving." The software captures a frame, plate-solves it against the polar region star field, and reports your current alignment error in arcseconds along with crosshair offsets showing which direction to adjust.

3. Adjust the Altitude and Azimuth Knobs
The CEM40's adjustment knobs are finger-friendly and finely threaded. Make small movements — maybe a quarter turn — then let iPolar re-solve. The software updates roughly every 2-3 seconds. Bring the green cross onto the target reticle. On a calm night I can get to under 30 arcseconds of polar error. On a windy rooftop where the building sways slightly, 60-90 arcseconds is more realistic and still adequate for unguided 60-second subs at focal lengths under 1000mm.
4. Lock and Verify
Once you're satisfied, tighten the altitude lock and both azimuth lock bolts a quarter turn each. Re-run iPolar to confirm nothing shifted during locking — the CEM40's locks can introduce 10-20 arcseconds of drift if you torque them hard. If you've drifted, micro-adjust through the locks and re-verify.
5. Star Drift Sanity Check
Slew to a star near the meridian at the celestial equator, center it, and watch for 60 seconds at 200x. If it drifts north or south within a minute, your alignment is off by more than you think and you should re-run iPolar. If it stays put, you're ready to image.
Comparison: 8" vs 6" SCT OTAs for the CEM40
The CEM40's 40 lb payload comfortably handles either a 6" or 8" Schmidt-Cassegrain optical tube plus an imaging train. Here's how the two main candidates compare for rooftop astrophotography:
| Spec | NexStar 8SE OTA | NexStar 6SE OTA |
|---|---|---|
| Aperture | 203mm (8") | 150mm (6") |
| Focal length | 2032mm f/10 | 1500mm f/10 |
| OTA weight | ~12 lbs | ~8 lbs |
| CEM40 payload used | ~30% (with imaging train) | ~20% (with imaging train) |
| Wind sensitivity on rooftop | Moderate | Low |
| Best for | Galaxies, planetary nebulae | Lunar, planetary, brighter DSOs |
Recommended Optical Tubes for the CEM40
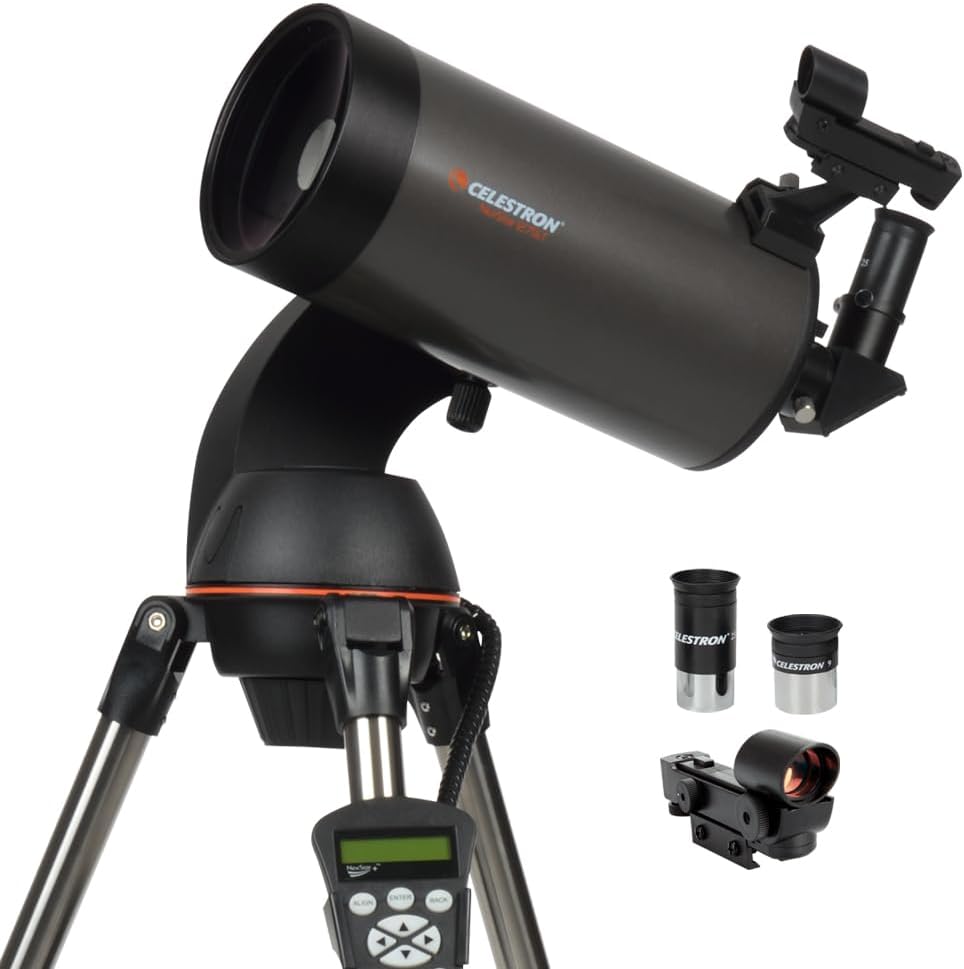
Celestron NexStar 8SE — Best All-Around OTA Source
The 8SE bundle gives you a proven 8" Schmidt-Cassegrain optical tube that pairs ideally with the CEM40's payload window. Many imagers buy the complete system, use the alt-az mount for visual nights at home, and migrate the OTA onto the CEM40 for serious imaging trips to the rooftop. The OTA's Vixen-style dovetail bolts directly to the CEM40 saddle. At 12 lbs the tube leaves plenty of headroom for a guide scope, ZWO camera, filter wheel, and OAG. For star clusters, galaxies, and tighter DSOs from a borderline-Bortle-7 commercial roof, the 8" aperture is the sweet spot. View the Celestron NexStar 8SE on Amazon.
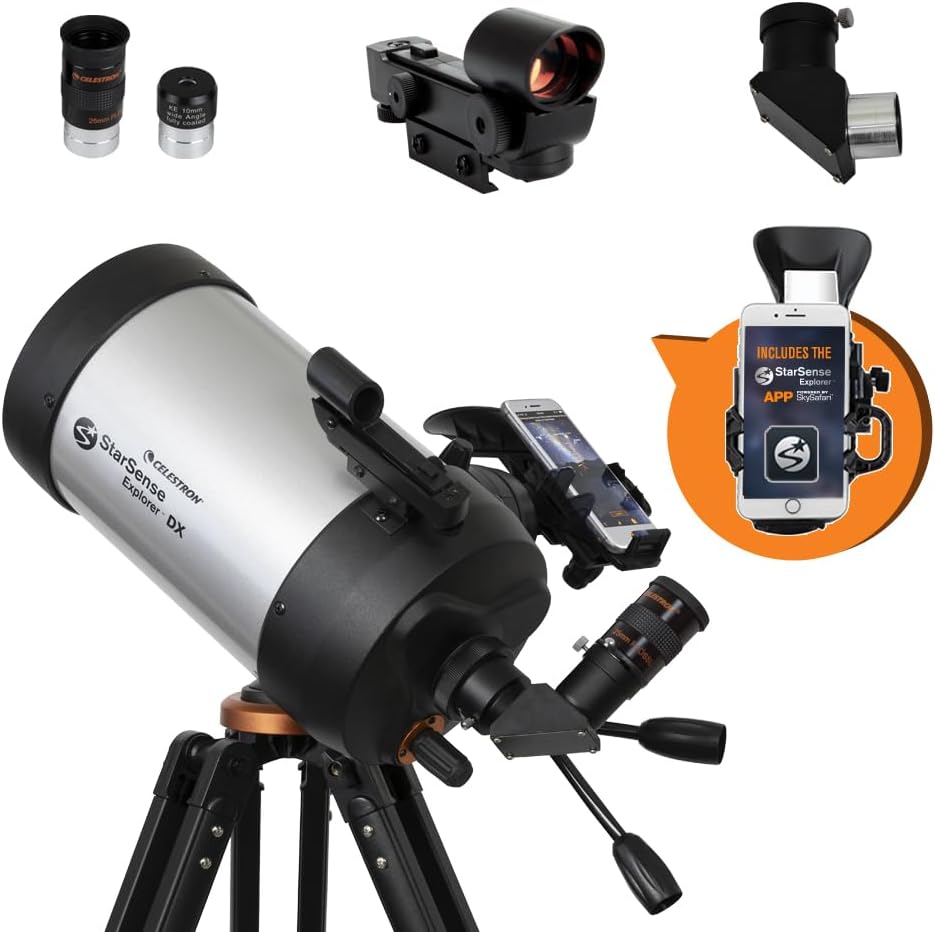
Celestron NexStar 6SE — Lighter, More Wind-Tolerant Option
If your rooftop is exposed and breezy — common on coastal storage facilities or any site without surrounding windbreaks — the 6SE's smaller and lighter optical tube reduces wind buffeting noticeably. The 1500mm focal length is also more forgiving of small polar alignment errors, which matters when you're working in a hurry between cloud bands. The 6SE OTA balances easily on the CEM40 with just a half counterweight. View the Celestron NexStar 6SE on Amazon.
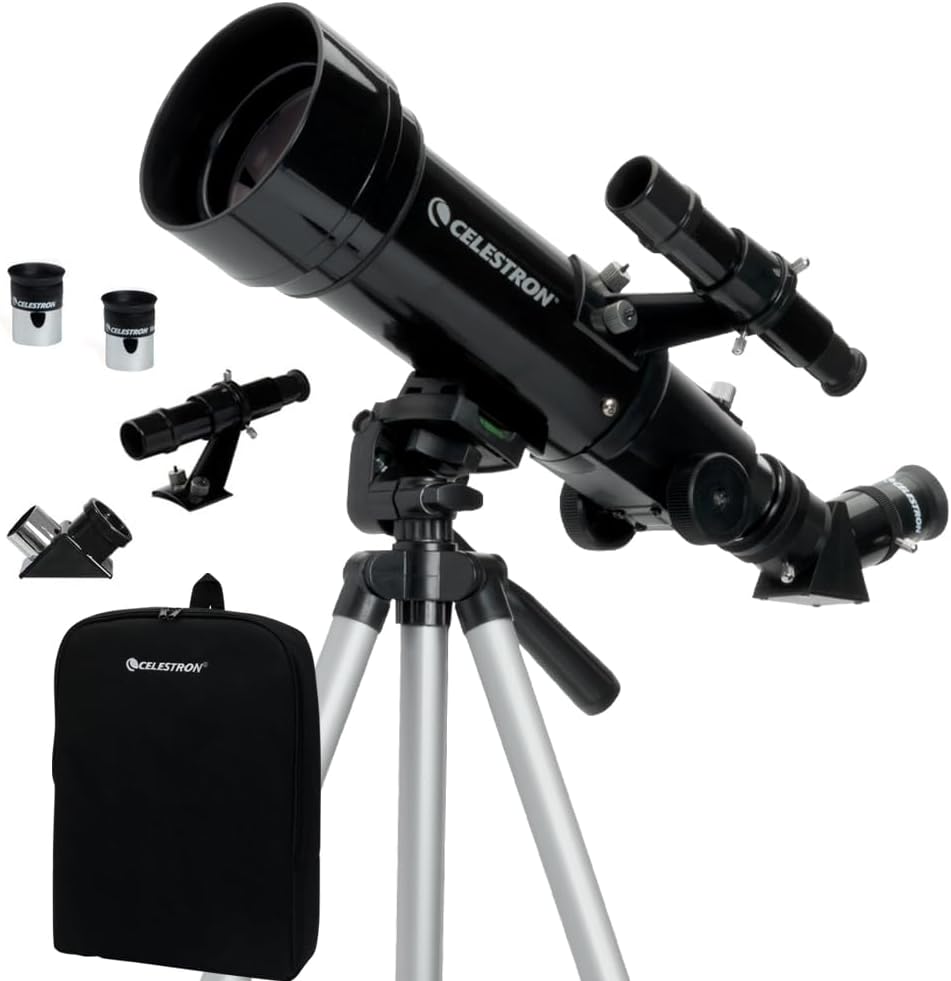
Celestron NexStar 8SE with Smartphone Adapter Kit — For Hybrid Visual/Imaging Use
The bundle that includes the NexYZ DX 3-axis smartphone adapter is worth considering if you also do casual smartphone astrophotography between serious imaging runs, or want to share the rooftop session with non-astronomer guests who'd rather hold up a phone than swap eyepieces. The included AC adapter is useful at home but won't help you on the roof. View the bundle on Amazon.
Things That Will Go Wrong (and What to Do)
HVAC kicks on mid-alignment. The whole roof vibrates. Wait until the compressor cycle ends (usually 4-7 minutes), then re-run iPolar. Don't try to align through the vibration.
Security guard appears. Calmly show your unit rental agreement and the email from the facility manager authorizing rooftop access. Always carry both. This is why the email matters more than the verbal okay you got at signup.
iPolar can't plate-solve. Your camera is pointed too far from the celestial pole, or there's a streetlight in the frame. Stop down with the lens cap covering the lower half and re-try, or physically reposition the mount to block the offending light.
Mount drifts after the first hour. The tripod legs are slowly sinking into the rubber pads under the load. Re-level and re-align after one hour on the first trip; you'll learn how much sink to expect for your specific setup.
For more rooftop-astronomy tactics, see our guides on portable power for rooftop astrophotography sessions, how to negotiate rooftop access with self-storage facilities, and CEM40 vs CEM26 for urban astrophotographers.
Frequently Asked Questions
Can you polar align an iOptron CEM40 without seeing Polaris from a rooftop?
Yes — the CEM40's built-in iPolar electronic polar alignment system uses a small camera embedded in the right ascension axis to plate-solve the polar region. It needs roughly a 10-degree-wide view of the sky around the celestial pole, but it does not require Polaris itself to be visible. This is what makes the CEM40 viable on storage unit rooftops where parapet walls or nearby commercial buildings block the horizon to the north.
How accurate is iPolar in real rooftop conditions?
Under calm conditions iPolar regularly reports sub-30-arcsecond alignment errors. On a typical commercial rooftop with light HVAC vibration and a breeze, expect 60-120 arcseconds. That is adequate for unguided 60-90 second exposures at focal lengths under 1000mm, and for guided exposures of any length up to several minutes.
Will the storage facility insurance cover damage to my CEM40 if it falls?
Almost never. Standard self-storage policies cover items stored inside the unit, not equipment in active use on the roof. Buy a dedicated inland marine or amateur astronomy equipment policy — several specialty insurers in 2026 underwrite these for $80-150/year covering up to $10,000 of gear.
How long does it take to polar align iOptron CEM40 from rented storage unit rooftop the first time?
Expect 45-60 minutes on your first trip, including setup, leveling, and learning iPolar's UI. By the third or fourth trip you should be polar-aligned and ready to image within 15-20 minutes of climbing the ladder.
Is it legal to do astronomy from a storage unit rooftop?
It depends entirely on your rental agreement. Many facilities prohibit rooftop access by default. Some have specific addendums allowing it for $15-30/month with proof of insurance. Always get written authorization before going up; verbal permission from a staffer at signup does not protect you if you're discovered by a different employee or a security patrol later.
What focal length is most forgiving for marginal polar alignment from a noisy rooftop?
Below 500mm is very forgiving, 500-1000mm is moderately forgiving, and above 1500mm starts to demand sub-arcminute polar accuracy plus active autoguiding. A 6" SCT at native f/10 (1500mm) is borderline; a focal reducer dropping it to f/6.3 or f/7 brings it into a safer zone for rooftop work.
Does the CEM40 need re-alignment after every imaging session, or can I store it on the roof?
You cannot leave a CEM40 on a rooftop — weather, theft, and facility rules will not allow it. Plan to break down and re-align each session. Mark the tripod leg positions with chalk on the roof so you can return to the same footprint; this won't preserve alignment but it gets you closer to your starting point on the next trip.
Key Takeaways
- Choosing the right polar align iOptron CEM40 from rented storage unit rooftop means matching capacity and output ports to your actual devices
- Always check actual watt-hours (Wh), not just watts — runtime depends on Wh, not peak output
- Also covers: CEM40 rooftop polar alignment
- Also covers: storage unit astrophotography setup
- Also covers: CEM40 daytime polar align
- Compare price-per-Wh across models to find the best value for your budget